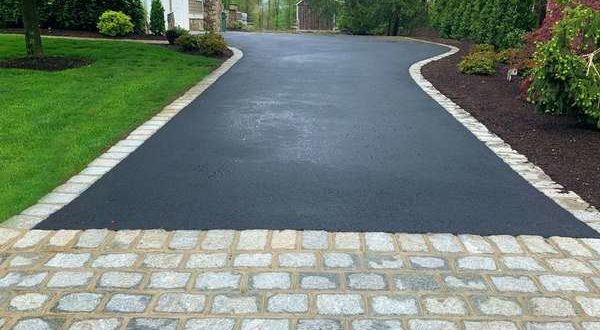
Extreme weather conditions can inflict substantial damage to your asphalt driveways. Small cracks might start appearing on your driveway surface caused by erosion from rain and wind. On being left unattended it can take a bigger stature causing accidents and even damaging your car. Cleaning the driveway and applying a driveway sealant can serve as the best solution to this problem. Read on to know about the steps which have to be followed in this regard.
Cleaning The Driveway
- It becomes easier to apply the sealant on a smooth driveway. For this, you can start by removing the overgrown grass and weeds from its edges. A shovel can be used for digging around the roots of larger weeds. Similarly, a power edge trimmer can come to your rescue while removing small grass patches along your driveway perimeter.
- Next, the driveway has to be scrubbed with cleaner and water. You can purchase driveway cleaner earmarked against asphalt application from an automotive or hardware store. A power washer having a soap nozzle or a garden hose applicator can be used for applying the driveway cleaner. The entire driveway surface should be covered with the cleaner following which you can use a push broom for scrubbing the same. Finally, a steady water stream can be used for cleaning the dirt and soap residue.
- Oil spot primers can be applied over the stained driveway spots as they help the driveway sealer in binding better with the oil-stained portions. One coat of primer can be applied with a disposable chip brush. In case of heavier stains, you can follow it up with a second coat. You need to make sure that the primer has dried completely before the application of driveway sealant.
- Before purchasing the sealant, you need to measure the driveway for determining whether you will require a 5 gallon bucket of asphalt sealer or more. Usually, a 5-gallon bucket can cover up to 400 square feet of your driveway area.
Applying The Filler & Sealant
- Check the next 24 hours’ weather forecast and ensure that the temperature will stay above the 10 °C marks while applying the sealant. Getting such favorable weather conditions will ensure that the sealant dries out properly and sticks to the driveway.
- For best results, you need to rely on premium-grade asphalt sealants as they are more durable. You can check the product labels for high-quality resins, UV stabilizers, and elastomeric materials.
- A rubberized tube filler can be squeezed in cracks that are less than 1.3 cm until it becomes level with the remaining driveway. In case of deeper cracks, you can use a trowel for spreading the filler. It requires at least one day for the patch or cracks filler to dry properly.
- Remove all traces of dirt and debris using a push broom after the crack filler dries out. Sealant needs a clean base and herein lies the importance of dusting the entire surface.
- Splashes are a common area of concern while mixing asphalt sealant. You can overcome the same by inserting a mixing paddle after creating a hole in the asphalt sealant lid. The hole you make needs to be big enough for ensuring a proper fit of the mixing paddle’s body with a bit of extra space.
- Start with a small portion of the asphalt sealant and pour it in a U pattern over the driveway from any of the edges.
- Now spread it out evenly using a clean push broom in horizontal lines. Mixing the sealant during this process will prevent it from separating.
- A second coat can be applied after the passage of 24 hours over cracked regions. A drying time of 48 hours has to be allowed to the second coat before driving on it.
Final Words
Sealing the asphalt driveway can serve as the best remedy against hazardous and unsightly cracked driveways. Following the steps correctly can improve its appearance and add to the longevity of your driveway.
Check Also


